If you want to learn how to make coconut milk, you’ve come to the right place! You can make fresh coconut milk from either shredded, dry coconut or fresh coconut. It is a fairly simple process with the added benefits of being super fresh and not canned.
How to Make Coconut Milk from Fresh Coconut
First you need two ripe brown coconuts. Learn how to pick a coconut.
Once you have your coconuts, your next task is to open the nut and remove the meat. How to open a coconut.
Now that you have the coconut meat, we can proceed onto the super intensive process of making the coconut milk.
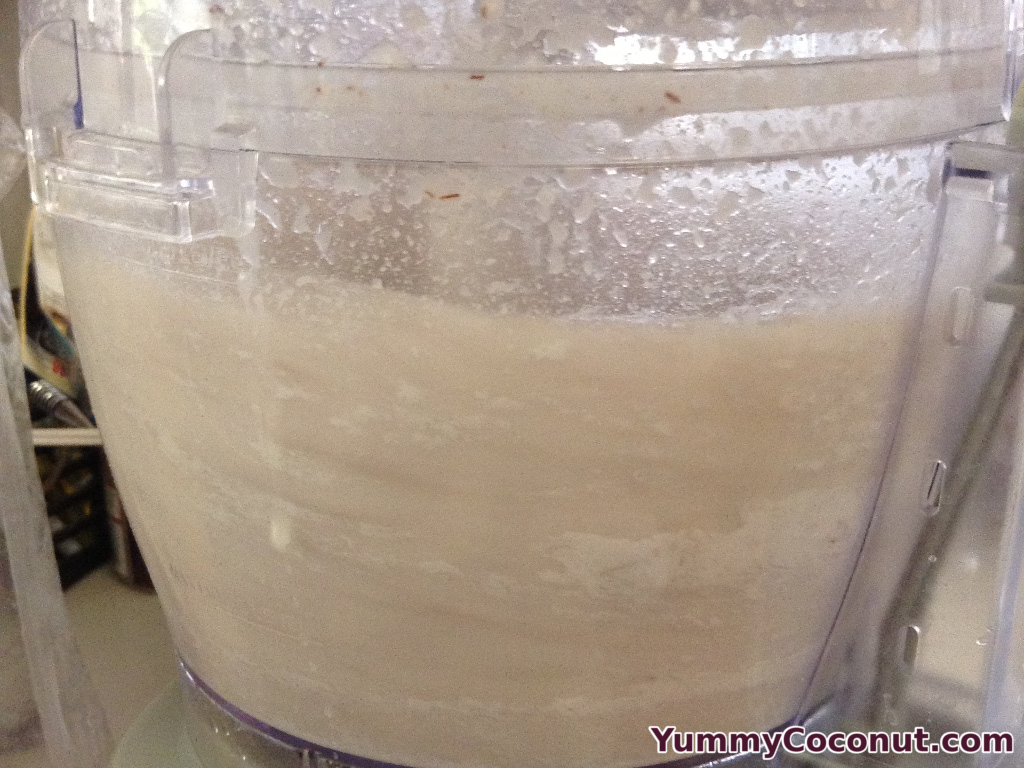
Roughly chop up the coconut meat and add it to your blender (if you don’t have an awesome blender then you can use an awesome food processor instead. If you have neither a food processor nor a blender, keep reading to find out how to squeeze the coconut milk out of the coconut with your bare hands!). Next add four cups of hot filtered water. You can substitute cold water here if you prefer to keep the milk unheated, however the heated water is better able to extract the coconut fats from the coconut flesh.
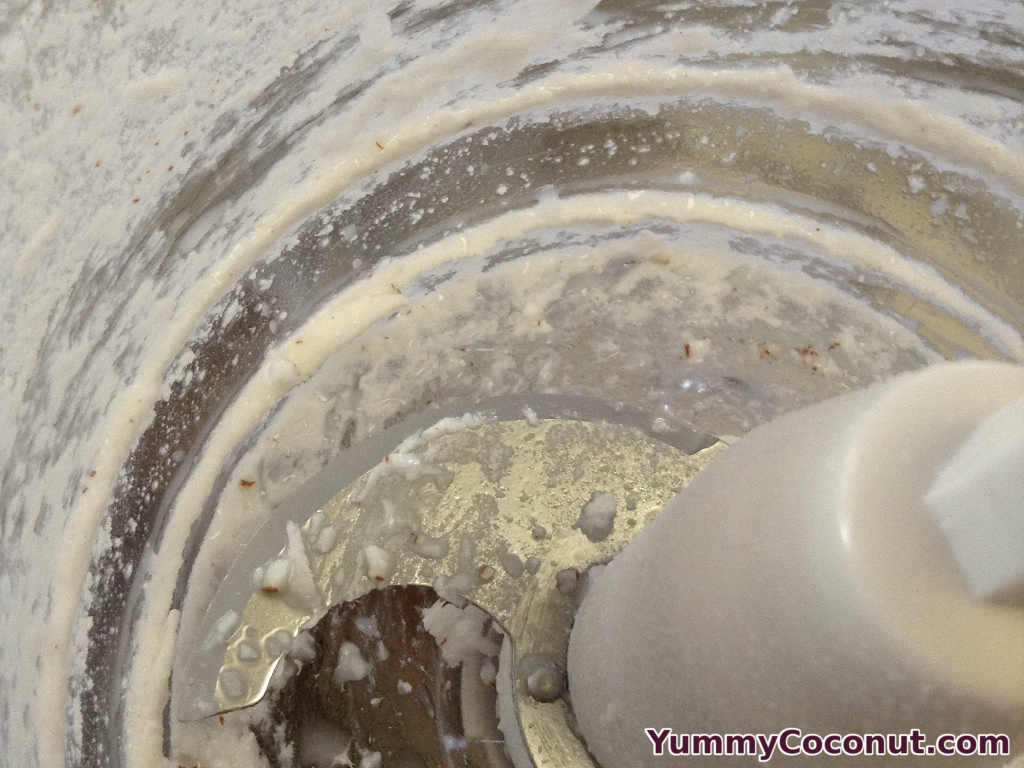
Blend/process until the water and coconut form a smooth(-ish, depending on how awesome your blending machine is, this may come out a bit chunky) slurry.
If you don’t have a blender or food processor, you will need to take the large chunks of coconut and grate them using a cheese grater. Once you have the meat grated, add the water and mix. While mixing, squeeze the living daylights out of your grated coconut. This will help release all that coconut goodness into your water. Now you can proceed to straining the coconut fibers out of the milk. Or you can skip the next step if you prefer your coconut milk with the extra fibers.
When using cold water to process your coconut milk, you might get a lining of coconut oil leftover in your blending/processing machine. Just use your hand or a spatula to scrape it off the sides. Refrigerate this oil until you are ready to use it and use it within a few days. Since it has coconut fibers in it, it can mold.
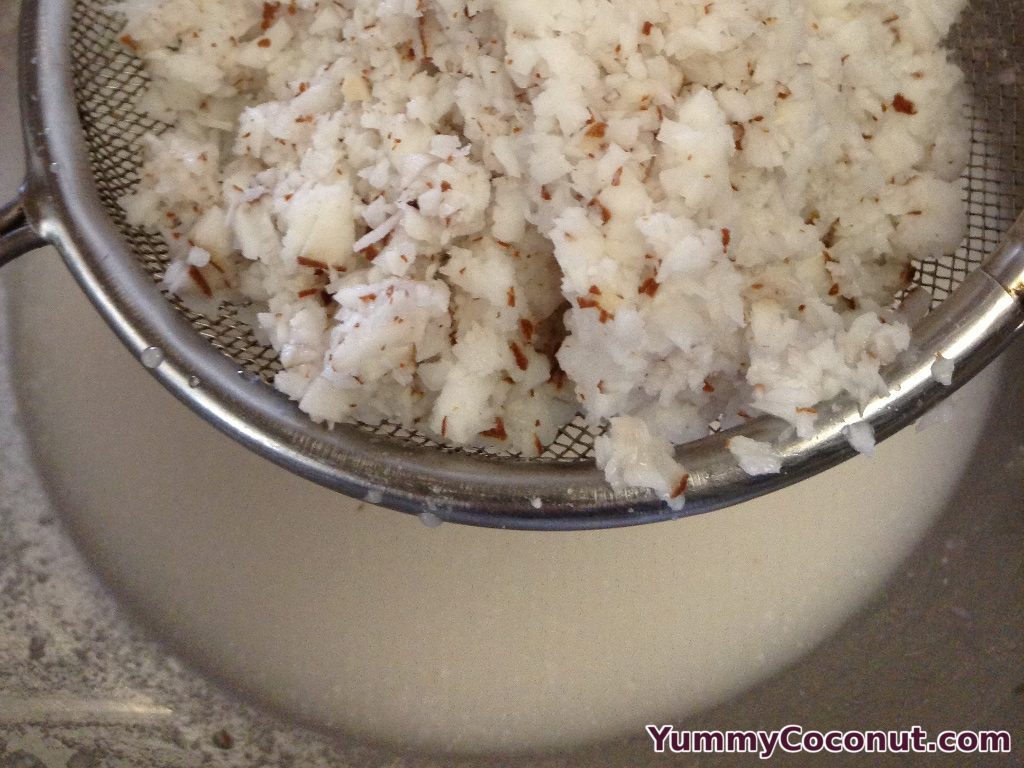
Straining involves either a sieve or some fine weave cheesecloth. Press the coconut fibers into the sieve or cheese cloth and squeeze to release more of the coconut milk.
The resulting liquid, strained or not, is your coconut milk and can be stored in your refrigerator for approximately 4-5 days. Since there are no stabilizers in this mix, your milk will separate, when this happens just shake to recombine.
How to Make Coconut Milk from Shredded Coconut
Making coconut milk from shredded coconut is an easier process. Someone went ahead and got the meat out of the coconut for you so you can just skip the whole coconut opening process.
Take one cup of shredded unsweetened coconut and 3 cups of warm filtered water. Place the water and coconut in your blender and let soak for 1-3 hours. The soaking helps moisten the dried coconut and prime it for blending.
I do not suggest trying this method without a blender/food processor. Attempting to grate the coconut shreds will probably just result in physical injury. You could try to use the squeeze method here, but because the dried coconut is not fresh, your results may vary.
Strain if you so choose and store the coconut milk for up to five days in the refrigerator.
Again, if separation occurs, just shake to combine.
If you strain, you can use the leftover fibers to make coconut flour. Read here to learn how to make coconut flour.
Enjoy your fresh homemade coconut milk!


Pingback: Coconut Milk Kefir Recipe | Yummy Coconut
Hello, I’ve been making homemade coconut milk from raw coconut chips and used 1 cup chips to 2 cups water but I’m finding the coconut milk kefir very thin. Barely any cream appears and my kefir doesn’t thicken. Is that your experience?
Thanks in advance.
I find a couple of factors can affect the thickness of your coconut milk.
A weak blender will make thinner coconut milk as well as cold water instead of warm. To further thicken the milk after you have made it, you can heat the milk in a saucepan over low heat to reduce the water content.
For thicker coconut milk kefr, you will want to make sure your coconut milk is thick to start with, then after the kefir has finished, you can refrigerate it before using it. This will cause the fats to solidify, creating a thick kefir.
On another note, kefir grains in general will go through an adjustment period when they are switched to a new food source such as coconut milk. It can take anywhere from a few days, up to a couple of months before the grains themselves will thicken your kefir. However, this doesn’t work so well for milk kefir grains in coconut milk because they need to be put back into dairy milk every now and then to keep them alive.
So getting thick coconut milk kefir is a little more difficult but pefectly doable if you make sure to start off with a high fat content coconut milk in the first place. Then you will retain the thickness of the milk after fermentation.
Hello, Thanks so much for coming back to me. What I get is a layer of thick solid coconut cream in the fridge and the below looks like murky water. I’ve tried increasing the amount of coconut I do in the blender (Nutribullet).
At the amount you suggest, 1 cup coconut to 3 cups water ,do you the coconut milk thickens much?
No, the coconut milk is not very thick for me. I’ve done varying amounts, 2 cups of coconut to 1 cup of water and it is always pretty thin.
I also get the separation when refrigerated. That happens when it gets cold and the fat settles at the top and hardens. I let it sit at room temp for a bit then shake it all back together.
If you want to ensure that you get a thicker milk, I would suggest trying the saucepan water reduction method. I’ll give it a try myself next time I make coconut milk to see how it affects the end product.
Great, thanks very much 🙂
I wonder if the kefir made from this is more a water kefir than a “milk kefir”!